Project 1
Project Statement
I struggled with the idea of making a "surrealist object" at first. Many of my initial ideas were utility-oriented because I'm so used to making things to optimize efficiency, or weight, or time. So, I took a different approach. I decided I wanted three things out of this project: 1) to learn how to use Blender 2) play with size 3) play with juxtaposition. I selected the tiny cowboy hat because I didn't want to be tethered by something with an inherent purpose. I really love patterns and opposites, so I started thinking about the cowboy hat’s scale, children's toys, and how I could make an object to oppose those traits. I really liked the idea of making the tiny cowboy hat look big by comparison, so my idea was to create a wind-up toy child, and dress it in the oversized tiny cowboy hat and a toy's oversized clothing, to evoke the image of a kid playing dress-up with adult clothes. However, the more I looked at the cowboy hat, the more it felt like a flying saucer, with its wide brim and rounded dome. With that, I started thinking about the iconic image of an alien ship picking up a cow, since the hat had a cow pattern around the brim. After consulting with Isabella and Alyssa, I chose to pursue the alien idea, as the child’s toy idea was a bit too complex, and the alien ship was a little more whimsical.
Inspiration Sources
Cow being abducted by aliens
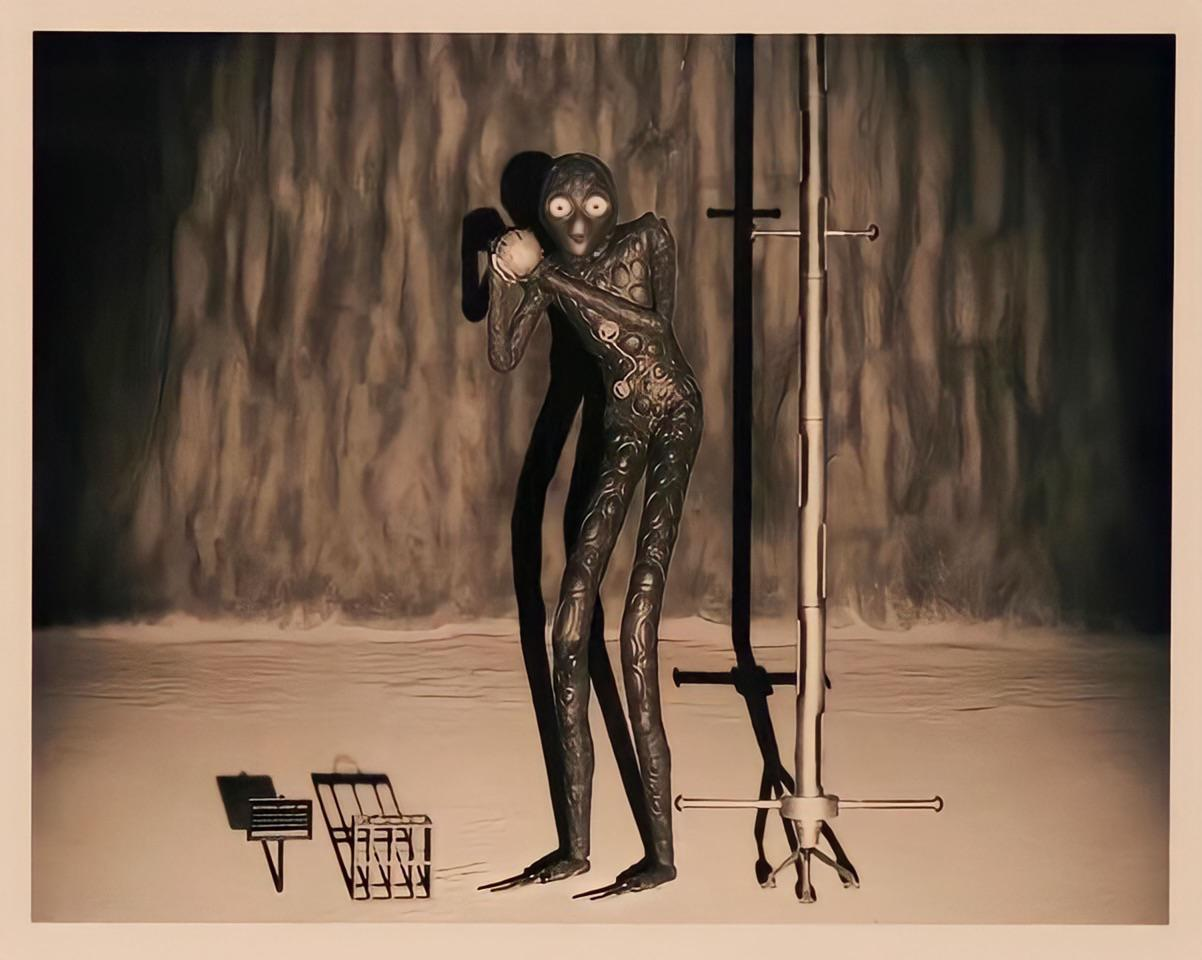
Alien from "Asteroid City"
Post 1
First day brainstorm and sketches
Post 2
Developing the idea of a walking windup toy. Alternative coat rack idea on the right. Laying out my project goals. First vague ideas of the alien ship.
Post 3

Dimensioning alien body, brainstorming a compliant mechanism for a tractor beam-esque function.
Post 4
Initial alien model
Model after smoothing
Post 5
I realized I accidentally made my model 6000000 mm tall. This is a screenshot in the process of scaling it down to a realistic size.
Post 6
The first print fell apart. The balls were too large for the sockets, and the model as a whole was too small to manage. I hoped PLA would be a little more flexible, but it was still too brittle and all the joints snapped.
Post 7
Resized the model to be twice as large. Scaled all ball jointed parts down. Fit balls inside sockets to try a nylon print at Alyssa's suggestion.
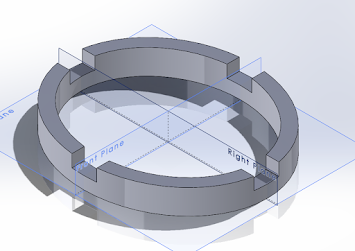
I realized I was way too ambitious, and don't have enough time to design and test a compliant mechanism. CAD'ed a simple mount to suspend the hat. Want to mimic the image of a beam of light shining down and be as simple as possible to assemble.
Post 8
Second print came out with a weird finish. Resized joints still couldn't fit, probably due to the finish, so I posed and hot glued the model together. Next PLA print worked much better and was the final "abducted" alien.
Preliminary arrangement. Third PLA alien was used as a center piece, while the failed print was arranged like the remains of a battlefield. Hat ring and hat stand legs were hot glued together.
Post 9
SLS Nylon print. This alien came out fairly well-formed, but the arms' ball joints did not work (it was hard to tell whether they were touching the sockets in Blender). The hip joint came out really well, every other joint was too loose for some reason. The material looks really nice and striking though.
Final arrangement. It's not what I envisioned when I started, but I'm not mad about it. I like the way I was able to suspend the body in the center, and I think I was mostly successful in my goal of learning Blender and playing with size. I wish I had an LED to put inside the hat to add some more ambiance to the piece.


.JPG)


Comments
Post a Comment